How-To:Document Template: Difference between revisions
No edit summary |
No edit summary |
||
| Line 1: | Line 1: | ||
ContactsLaw provides a comprehensive document creation system | ContactsLaw provides a comprehensive document creation system. It's templating functions allow the creation and sharing of powerful templates to reduce data entry and to simplfy document creation. Users can build and configure their own templates within the system. The below guide will explain the key steps in creating a template. | ||
#To open the template creation window, start by selecting the relevant workgroup.[[File:Step 1 - Create Template.png|none|thumb|500x500px]] | #To open the template creation window, start by selecting the relevant workgroup.[[File:Step 1 - Create Template.png|none|thumb|500x500px]] | ||
# The template creation window can then be opened, either by: | # The template creation window can then be opened, either by: | ||
| Line 5: | Line 5: | ||
#* Option 2: navigate to the “'''Create'''” section in the upper part of your screen and click “'''Template'''”. [[File:Step 2.3- Create Template.png|none|thumb|500x500px]] | #* Option 2: navigate to the “'''Create'''” section in the upper part of your screen and click “'''Template'''”. [[File:Step 2.3- Create Template.png|none|thumb|500x500px]] | ||
# Both options open the “'''New Template'''” window. The "Description" field is the name of the template. [[File:Create Template - Description.png|none|thumb|500x500px]] | # Both options open the “'''New Template'''” window. The "Description" field is the name of the template. [[File:Create Template - Description.png|none|thumb|500x500px]] | ||
# | # There are two ways to build a new template: either selecting "New" and selecting a file type to create a completely new template. Alternatively, you can use the "Upload" button to upload a document from your computer and use that as a basis for your template. [[File:Step 4.1- Create Template.png|none|thumb|500x500px|[[File:Step 4.2- Create Template.png|none|thumb|500x500px]]]] | ||
# Proceed to the “'''New'''” and dropdown to choose what would be the format of body of the document. [[File:Create Template - Category.png|none|thumb|500x500px]] | # Proceed to the “'''New'''” and dropdown to choose what would be the format of body of the document. [[File:Create Template - Category.png|none|thumb|500x500px]] | ||
# If you have an existing body document that you’re going to use, just click “'''upload'''” instead and you will be directed to your local drive.[[File:Step 6 - Create Template.png|none|thumb|500x500px]] | # If you have an existing body document that you’re going to use, just click “'''upload'''” instead and you will be directed to your local drive.[[File:Step 6 - Create Template.png|none|thumb|500x500px]] | ||
Revision as of 11:31, 17 August 2024
ContactsLaw provides a comprehensive document creation system. It's templating functions allow the creation and sharing of powerful templates to reduce data entry and to simplfy document creation. Users can build and configure their own templates within the system. The below guide will explain the key steps in creating a template.
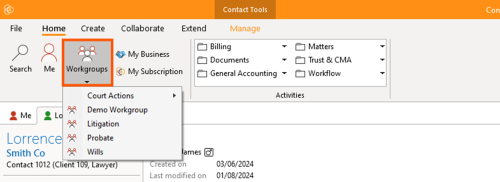
- To open the template creation window, start by selecting the relevant workgroup.
- The template creation window can then be opened, either by:
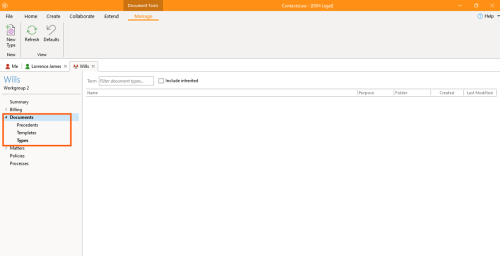
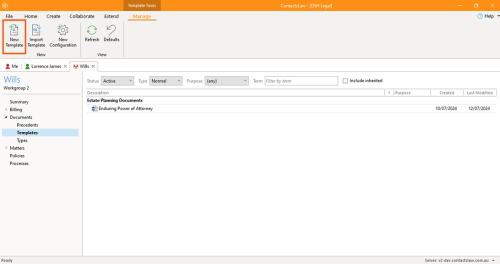
- Option 1: Select “Documents” on the vertical menu and choose “Templates”. Then click, “New Template”.
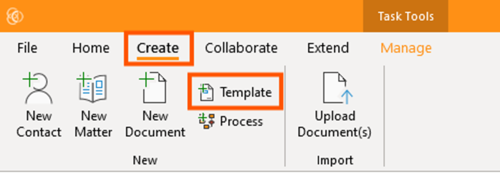
- Option 2: navigate to the “Create” section in the upper part of your screen and click “Template”.
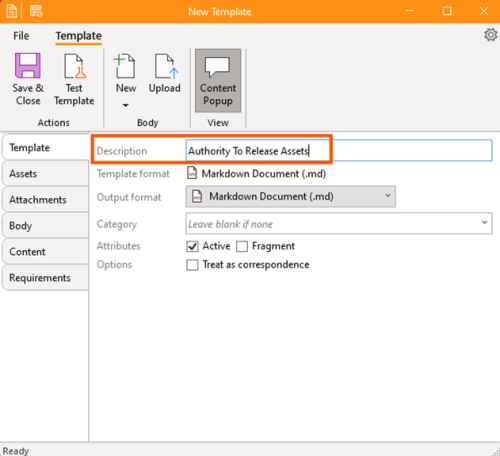
- Both options open the “New Template” window. The "Description" field is the name of the template.
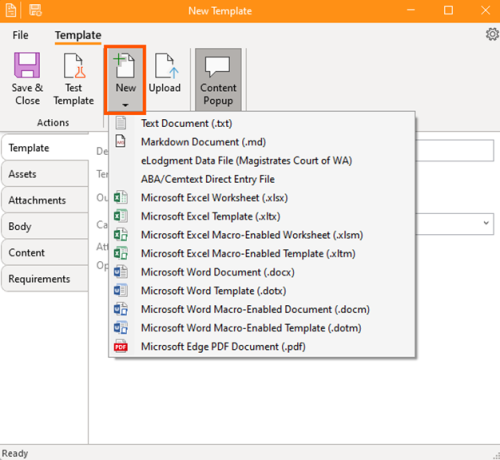
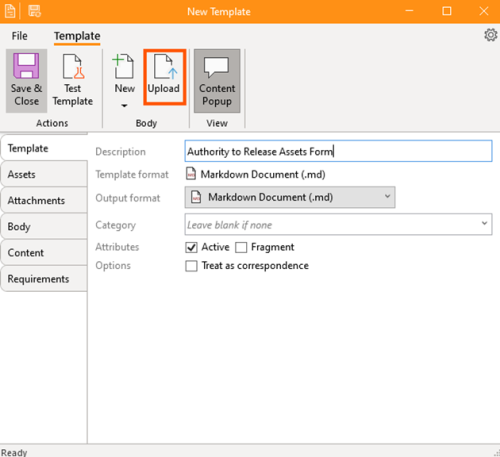
- There are two ways to build a new template: either selecting "New" and selecting a file type to create a completely new template. Alternatively, you can use the "Upload" button to upload a document from your computer and use that as a basis for your template.
- Proceed to the “New” and dropdown to choose what would be the format of body of the document.
- If you have an existing body document that you’re going to use, just click “upload” instead and you will be directed to your local drive.
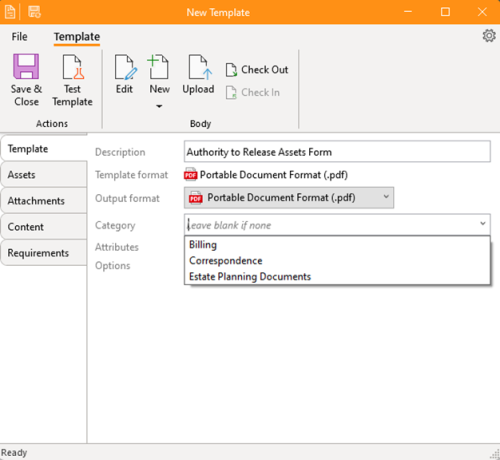
- Then you will choose the category of your template which is just a name to group different templates together.
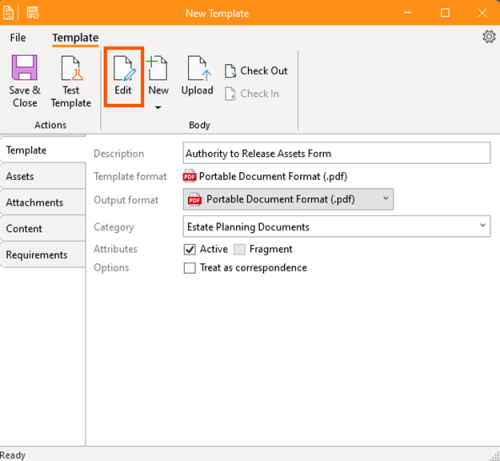
- You have the option to edit the file that you’ve uploaded. In case if it is a (.docx) you will be directed to edit the document in the microsoft word, while if it is a (.pdf) you will be directed to the adobe acrobat to check and edit the document you’ve uploaded.
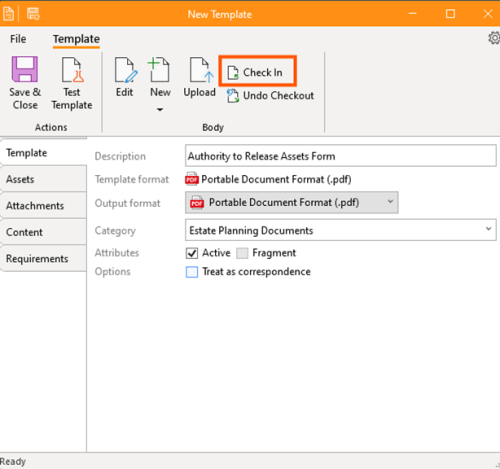
- Proceed to “Check In” the document.
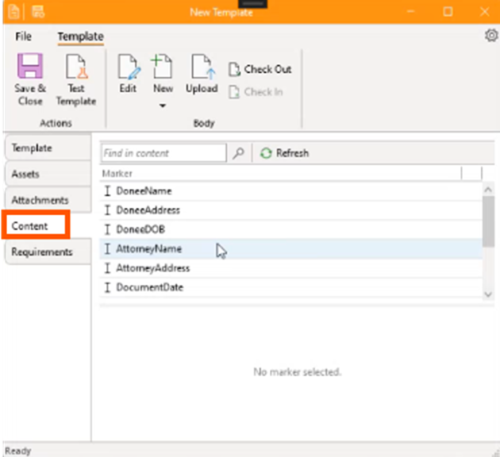
- Next go to the “Content” section where you see all those different fields of content markers, they're all in here and they appear in the order in which they were added to the document.
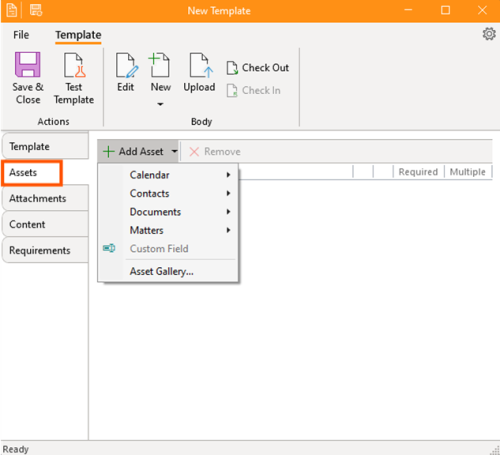
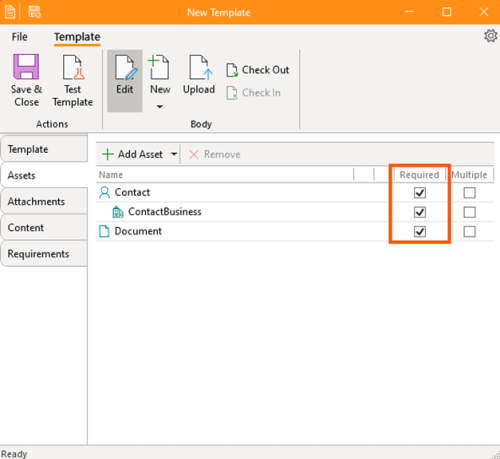
- For the “Asset” section, you will have the option to add what you want for the file or document to work.
- After adding assets, do not forget to check the box as “Required”.
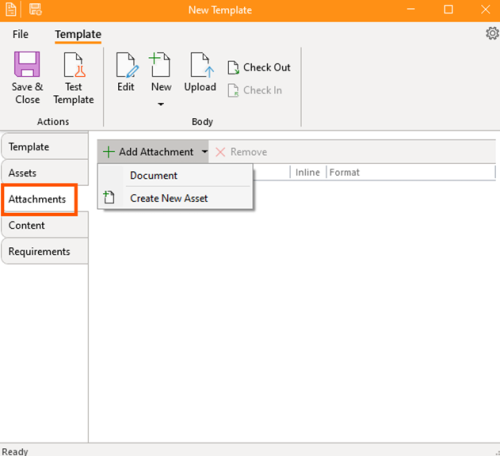
- Then, go to the “Attachments” section and add a document or create a new asset.
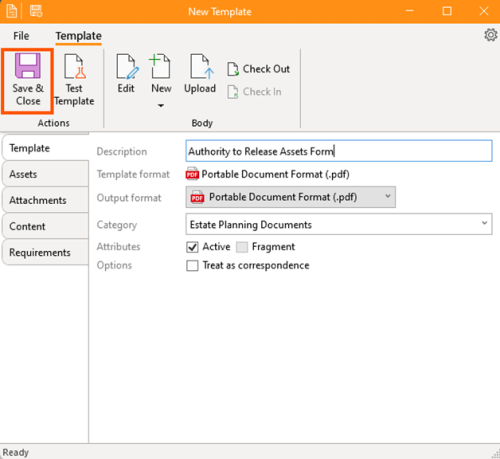
- Double check the details and if it is all good just click “Save and Close”


