How-To:Invoice: Difference between revisions
No edit summary |
mNo edit summary |
||
| Line 29: | Line 29: | ||
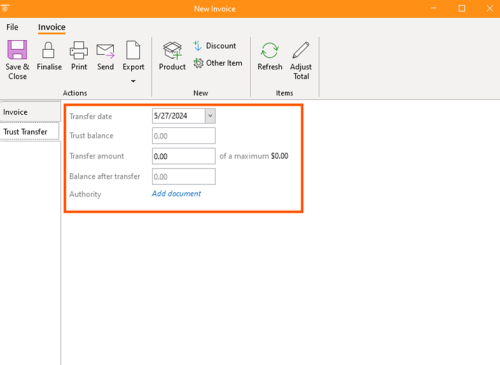
8. Enter the '''transfer date''', '''trust balance''', '''transfer amount''', and view the balance after transfer. Optionally, add a document for authorization. | 8. Enter the '''transfer date''', '''trust balance''', '''transfer amount''', and view the balance after transfer. Optionally, add a document for authorization. | ||
[[File:Step 8 - Create Invoice.png|none|thumb|500x500px]] | [[File:Step 8 - Create Invoice.png|none|thumb|500x500px]] | ||
[[Category:How-To]] | |||
Revision as of 11:23, 10 June 2024
How to create an “Invoice”
1. Open the app and navigate to the 'Billing' section.
2. Click the down arrow and select "Create Invoice".
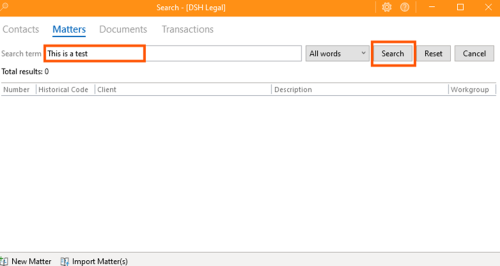
3. Enter a search term or use "This is a test". Double-click or press "Enter".
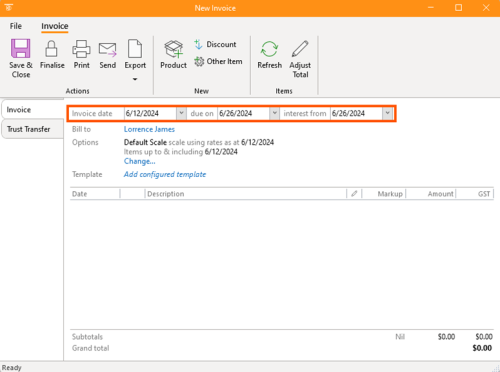
4. Input the invoice date and due date for the specific person being billed, and add interest from the date.
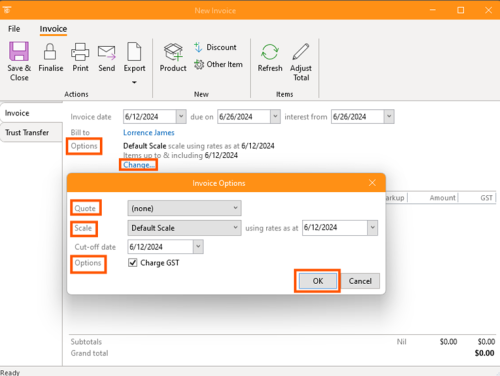
5. Utilize the available Invoice options to include a quote, use rates as of the date, set a cut-off date, and choose whether to charge GST.
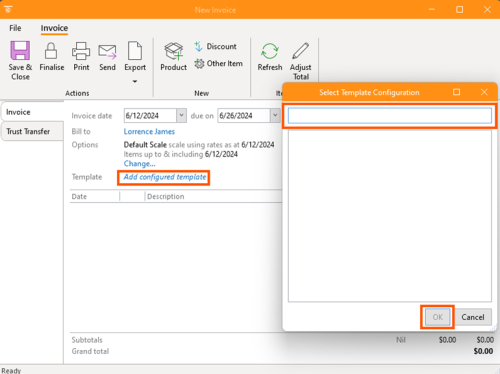
6. If available, select a previous template for configuration.
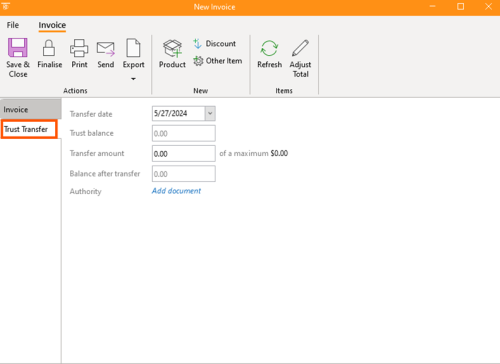
7. Navigate to the trust transfer section.
8. Enter the transfer date, trust balance, transfer amount, and view the balance after transfer. Optionally, add a document for authorization.


