How-To:Invoice
1. Getting Started
- Select the Home tab on the ribbon and, under Billings, click Create Invoice
2. Enter Invoice Details
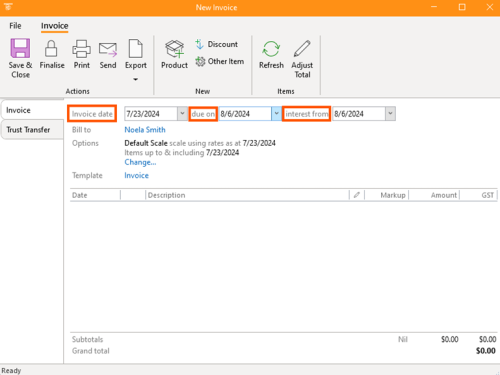
- Invoice Date: Enter the date to appear on the printed invoice.
- Due Date: Set the date when payment is due. By default, it is 14 days after the invoice date. Adjust if necessary.
- Interest Accrual Date: Set the date when interest begins to accrue. This can be the same as the due date or different if you want to allow a grace period.
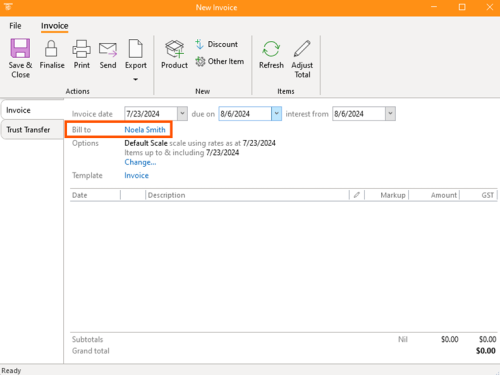
Set Billing Contact
- The billing contact defaults to the client of the matter. To address the invoice to another person, change the contact information accordingly.
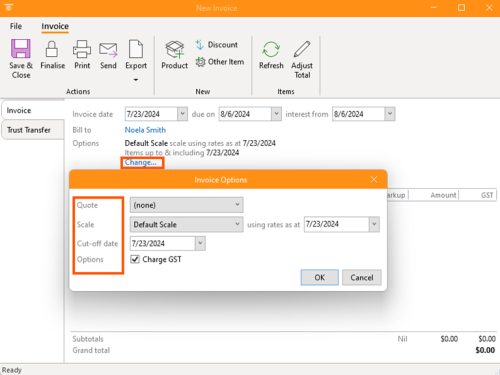
Billing Options
- Quote: If the invoice is based on a quote, select it to pre-fill items. If not, build the invoice directly.
- Rate Scale: Choose the rate scale to apply, reflecting the rates as of the current date or a specified date.
- Cut-Off Date: Set the cut-off date for including items in the invoice. For example, include charges up to the day before the invoice date.
- GST: Decide whether to charge GST (sales tax). If not applicable, set the amounts to 0.
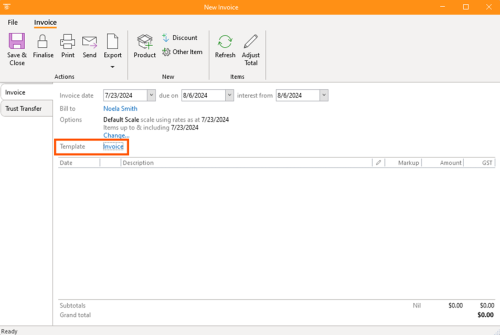
Select an Invoice Template
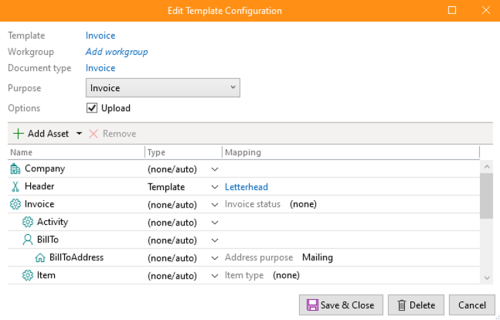
- Choose an appropriate template to format the invoice. If no template is available, add one later. This template will generate a printable document linked to the invoice.
3. Add Invoice Items
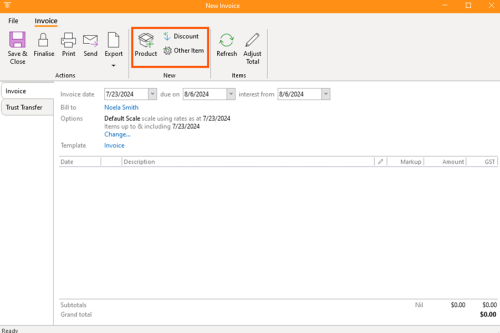
- Products: Include products (groupings of time or fixed charges). Adjust quantities and rates as needed.
- Custom Items: Add any other billable items with a free-form description (e.g., photocopying charges).
- Discounts: Apply discounts as a fixed amount or a percentage of the total invoice.
4. Review and Finalise
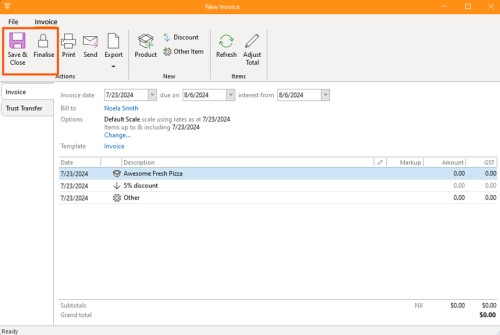
- Save the invoice as a draft if further changes are needed.
- Finalise the invoice to post it to the general ledger, making it unchangeable.
- Finalising will generate and link the invoice document to the matter.
5. Print, Send, or Export Invoice
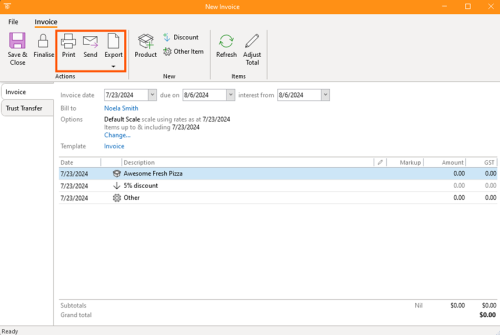
- Print: Utilize the template to print the invoice document.
- Send: Generate a covering email with the invoice attached, addressed to the billing contact.
- Export: Download the invoice document for further editing or records.
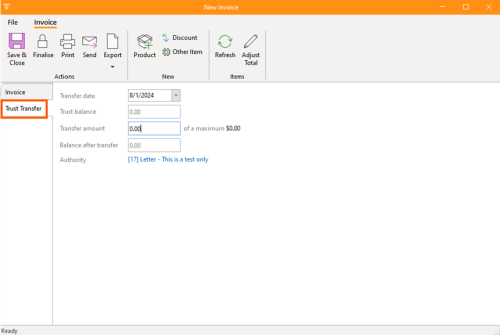
6. Trust Transfer
- If applicable, navigate to the trust transfer section.
- Enter the transfer date, trust balance, and transfer amount. Review the balance after transfer.
- Add a document for authorization if required.
Additional Features
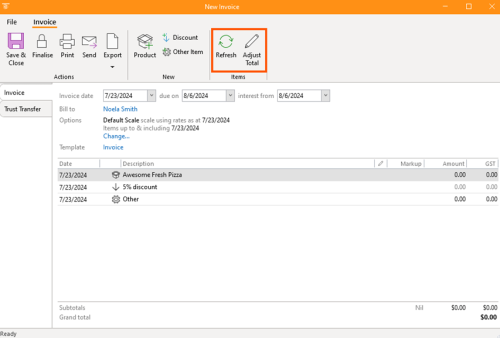
- Use the refresh button to update invoice amounts if time records or other details change.
- Use the total button to round the invoice total to a specific amount, adjusting item amounts proportionally.


