How-To:Workgroup
A workgroup determines the behaviour and semantics of matters in ContactsLaw. It is an invention that happens within the business.
The below guide will explain the ways on how we can manage the workgroups into the system:
1. Getting Started
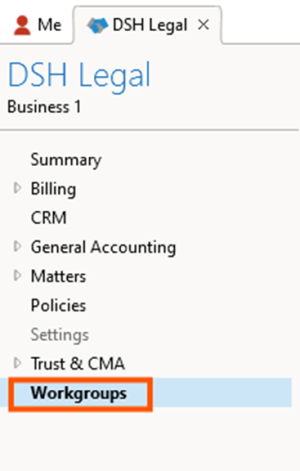
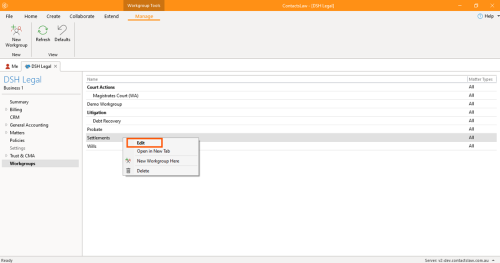
- Navigate to the ribbon group and click on My Business.
- Proceed to the pane and click Workgroups.
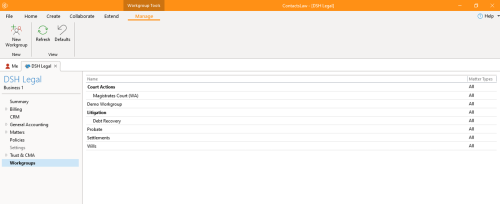
- Then you will see the list of current work groups.
- Note: Workgroups are hierarchical and it is additive, not subtractive. That means that any of the parties and fields that are defined in the parent workgroup will be carried through to the child workgroup. They can't be turned off.
2. Adding New Workgroup
The below guide will explain the key steps in adding new workgroups into the contacts law subscription:
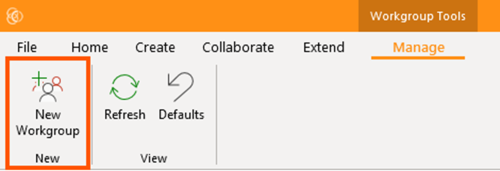
- Go to the ribbon group and choose New Workgroup.
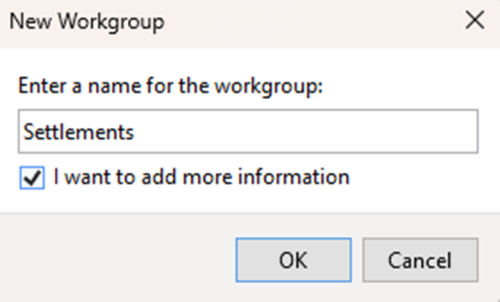
- Enter the name of the workgroup and tick the box if you want to do something more meaningful and define the properties of the workgroup straight away.
3. Workgroup Properties
Workgroup Properties has six (6) sections, and those are:
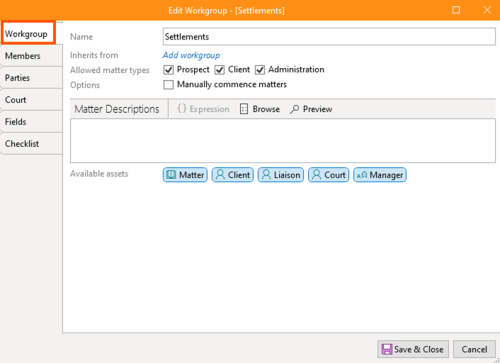
- Workgroup
- Name: States the name of your created workgroup.
- Inherits from: This option is if you want to inherit the workgroup you created from another work group.
- Matter Types: Composed of three (3) main types of matters namely: Prospect, Client, Administration.
- Options
Manually commence matters: Tick this option if you want to commence the workgroup in earnest with all of the requirements.
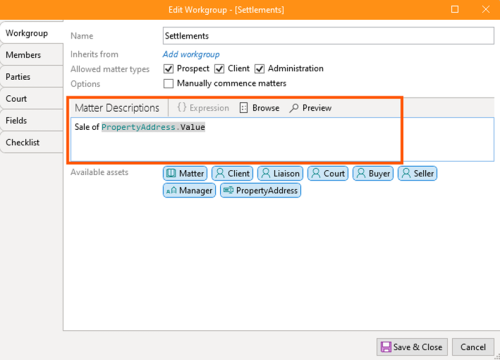
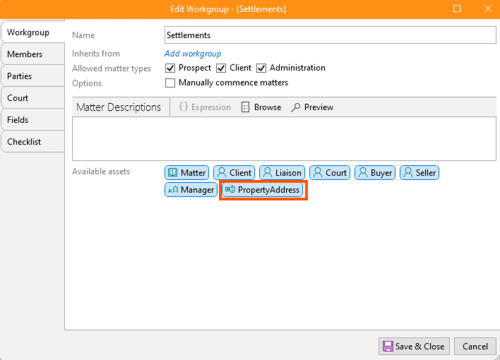
- Matter Description: This builds on the information that is covered in How-To: Document. Basically, we can just as we write content specifications for markers to go in the template.
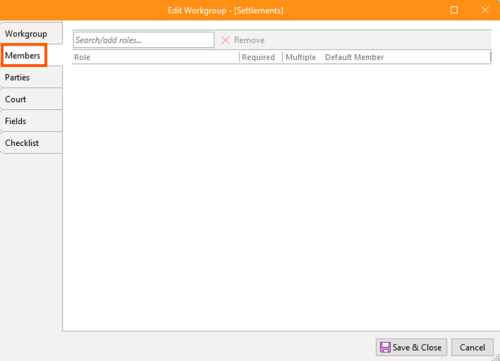
Members: This is going to be a list of all Members who are associated with the matter in some specific role.
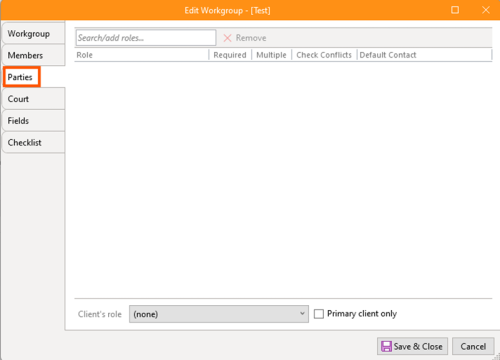
Parties: These are the parties that you add to matter.
- Roles: You are only able to select from the roles that define the workgroup.
- Client’s role: This is the option which is assigned to the client by default.
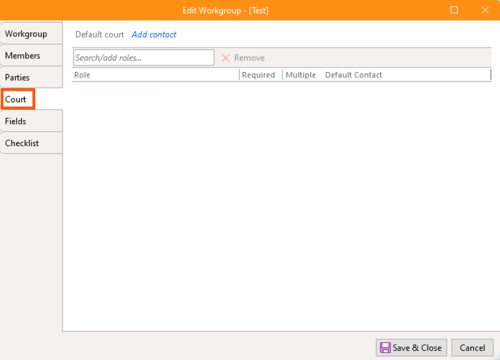
Court: This category is for a litigious type of workgroup. For litigious matters, you only have one or two roles and that would be a judge or case manager or magistrate.
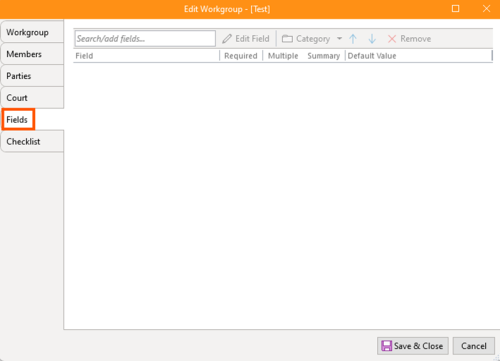
Fields: This option is to hold the address of a property.
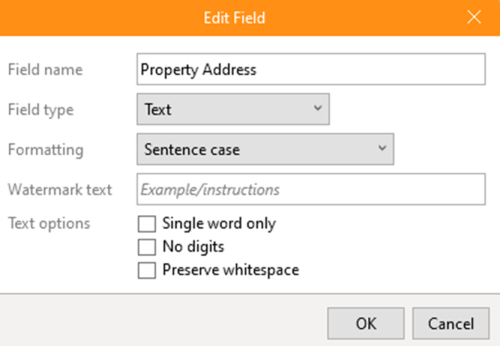
Field: You have the options to add a field name; field type (Text, Number, Date/Time, Yes/No); Formatting (Sentence case, Title case); Watermark text and; Text options.
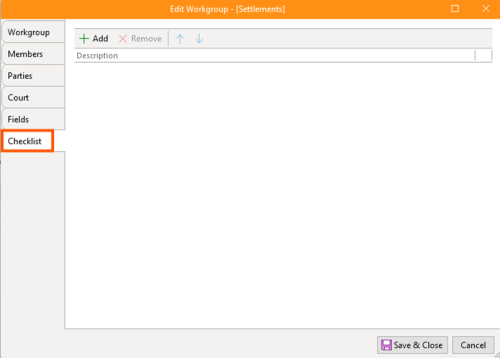
Checklist: This is a way of building up a checklist of items that need to be completed during the life of the matter.
4. Insert an Expression
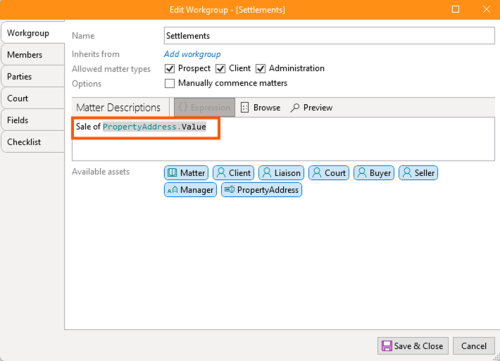
- After adding a matter description (Workgroup Properties), the description editor is aware of the new fields that have been created.
- Insert an expression where you previously had a placeholder and click {Expression} then Save & Close.
5. Final Steps
The below guide will explain the impact that the workgroup has on creating the matter.
- Navigate to the Me tab and select Matters.


