How to Record Non-Cash Disbursements
This section of ContactsLaw provides the overview of recording the non-cash disbursement journals which is a place that allows funds to accumulate that we are going to pass the cost of those onto the clients. This structure ensures that financial records and transactions are organised clearly and efficiently for each business you operate.
The below guide will explain about creating a non-cash disbursement journal:
1. Getting Started
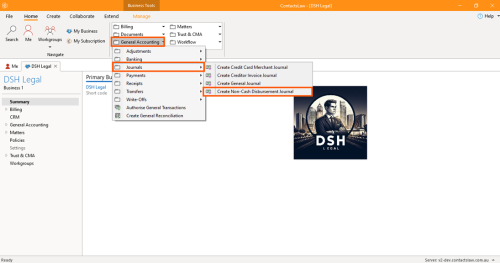
- Navigate to the ribbon group and choose General Accounting. Proceed to Journal and click on Create Non-Cash Disbursement Journal.
2. Specify Options
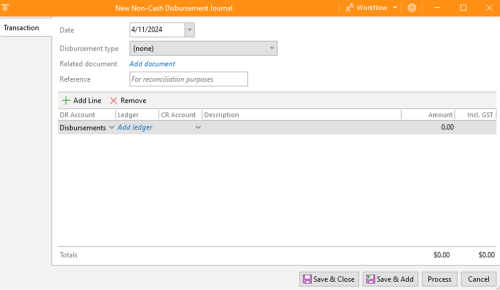
In the non-cash disbursement journal window, there are options that you need to fill up.
- Date: Setting the date when you record the creditor invoice. Date can be past, present, or future. There are in some cases there will be backdated transactions or forwarded transactions.
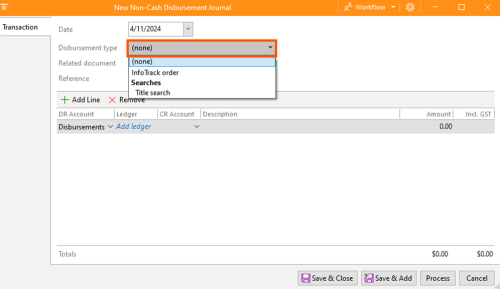
- Disbursement Type: This option must be filled with either InfoTrack order or Title Search.
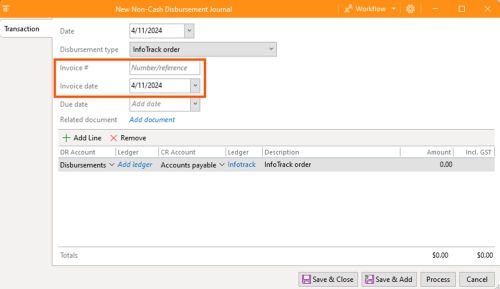
- Invoice Number: This detail is provided by the client.
- Invoice Date: Date when the invoice was created.
- Related Document: You can upload the invoice given by the client. This may also be the proof that certain transactions for clients exist.
- Reference: This is for the invoice / order reference number.
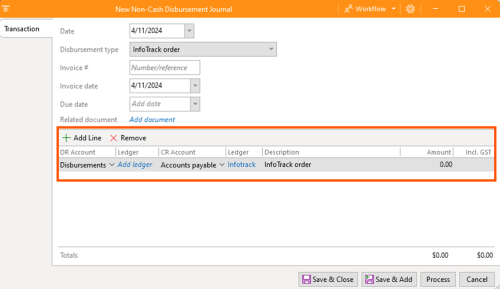
- DR Account: This option will show where the transaction will be directed.
- Ledger No.1: All disbursements get recorded on matters, so you need to make sure you have a matter related to this transaction.
- CR Account: This option is about what account will be going to send this payment.
- Ledger No.2; This option will be pre-filled after you select a disbursement type.
- Description: Describe what the disbursement payment is all about.
- Amount: State the exact amount of the transaction excluding the tax its GST.
- GST: This is a set of metrics or base items specific to Australia in the preparation of tax records for businesses which is 10% of the total amount. In case the gst amount is different you have the option to edit it.
- Add and Remove Line: This is an option to add another item or remove an item.
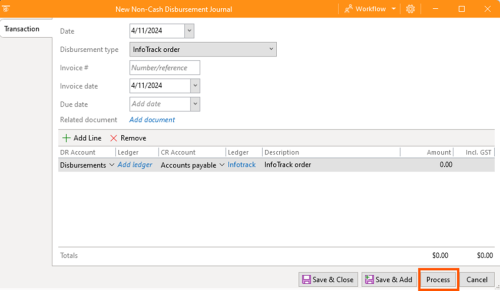
- Review the details and click Process.
- After clicking the Process, the transaction will directly appear in the Aged Creditors under the General Accounting.


