How-To:Upload Document
When uploading a document, you are bringing it from outside the software into the system. We’ll focus on manual uploads.
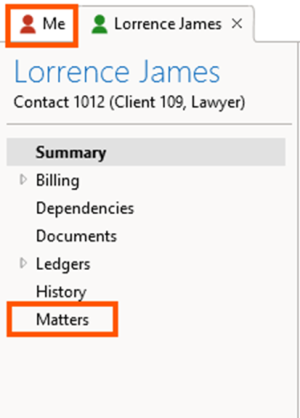
- In the "Me" section, click on "Matters" to open the Matter.
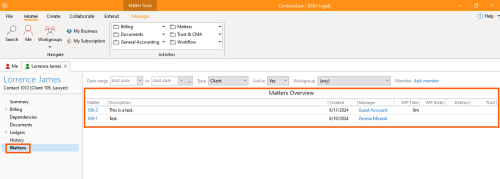
- Matters Overview: Here you can see an overview of the matter.
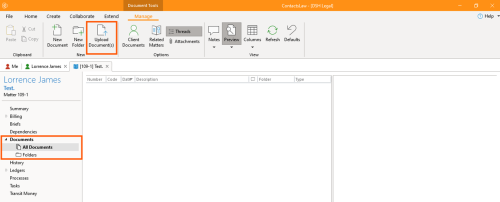
- There are upload buttons in both the documents tab and the create tab. Click "Upload Documents."
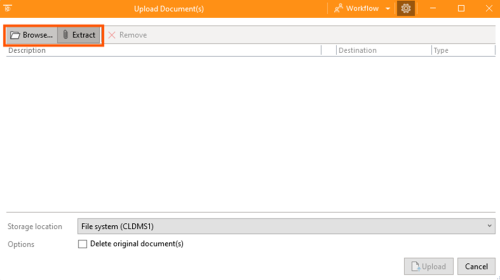
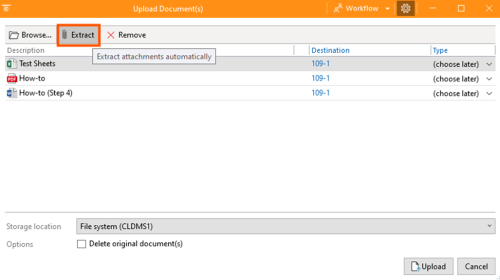
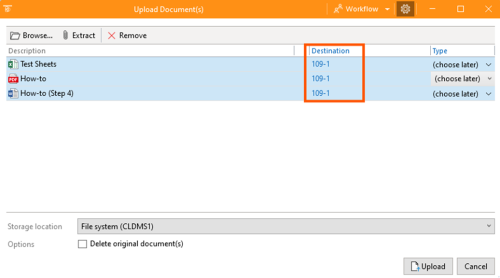
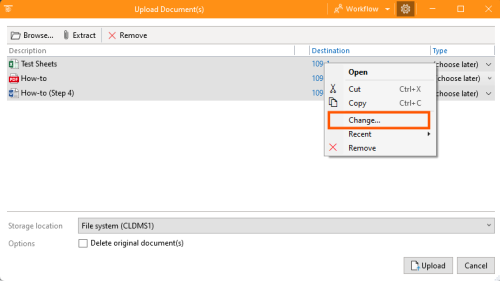
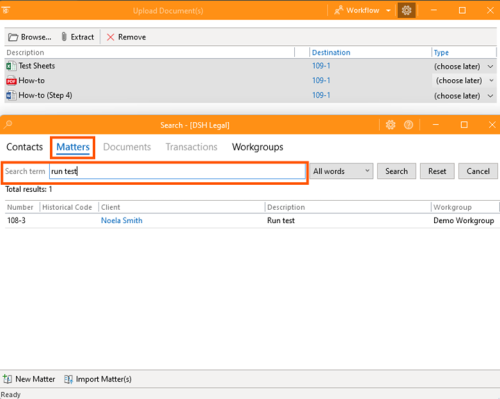
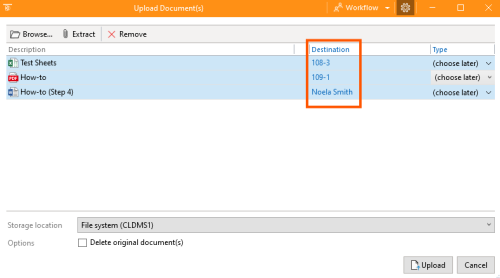
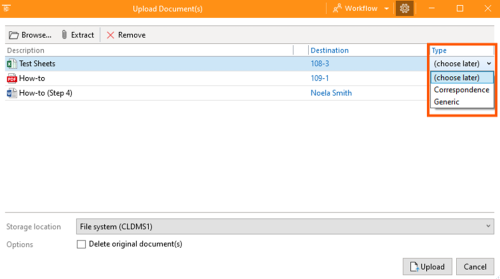
- Browse for Documents: A browse panel will open, allowing you to locate documents on your local PC. You can also drag and drop documents into this window.5. Handle Attachments: By default, the extract feature separates attachments into individual items. If you don’t want them extracted, turn off the extract option. You can also manually extract attachments.6. Set Destination: Choose where the document will reside (e.g., a matter or a contact).7. Choose Document Type:
- You can select a document type such as "Correspondence" or "Generic".
- If the document type doesn’t require additional information, the document will be catalogued automatically.
- You can also defer choosing a document type until later. 8. Upload and Process: Click "Upload." The upload window will minimise, processing items in the background. You can continue working while the documents upload. If there are any issues, you will be alerted.


