How-To:Create Document
How to Create a Document
Documents (including emails, letters and other documents) are created within ContactsLaw using templates/precedents within the system. There are three convenient entry-points into document creation:
- Entry-point 1: Open the Desktop App. On the ribbon, go to the “Document” section. Click the arrow, then select "Create Document”
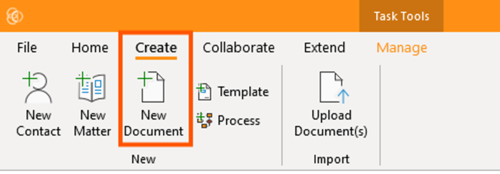
- Entry-point 2: Under the "Create" tab on the ribbon, click “New Document”
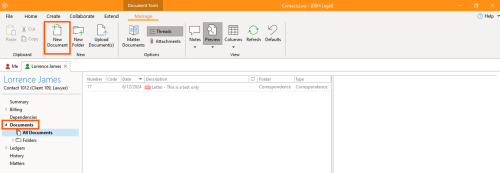
- Entry-point 3:: Navigate to the "Documents" window of a Contact or Matter and then select "New Document" under the "Manage" tab of the ribbon.:
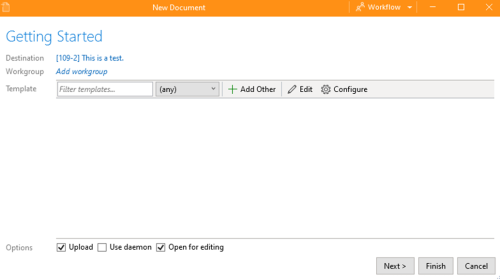
- Each entry point will open the "New Document" Window
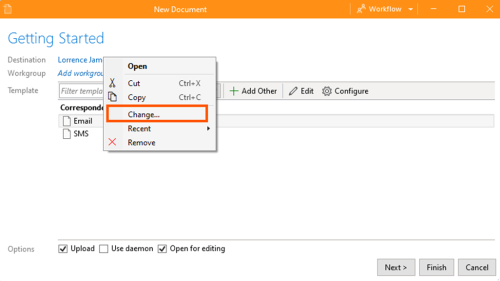
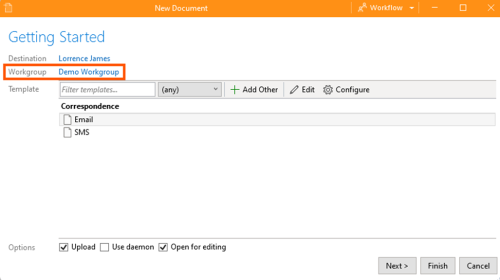
- Select the "destination" of your document. The destinaton is where the document can be stored. Documents can be stored against a Contact, a Matter or a Workgroup. Right-click and choose “Change” to change the destination.
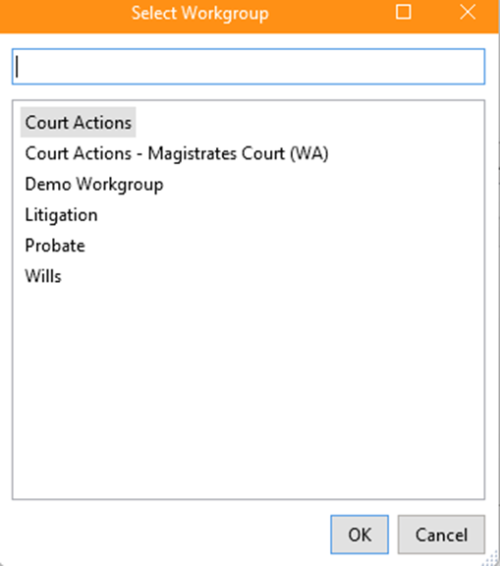
- Select a work group to get a list of templates available in that workgroup. You can change the workgroup by Right-clicking and choosing “Change.”
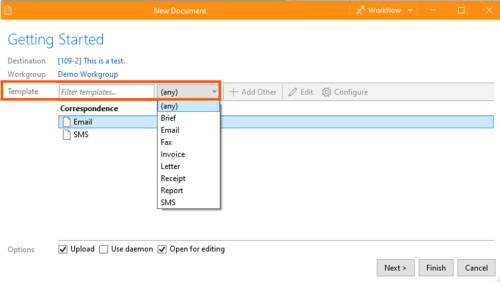
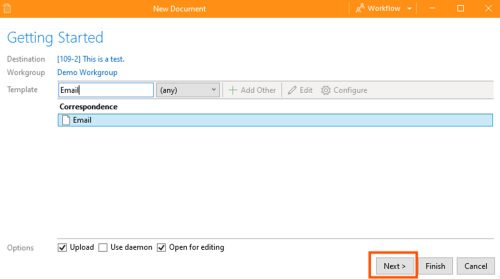
- Choose the template you want to generate the document from. The drop-down allows you to filter the templates by particular types (e.g. "Letter, SMS". You can also filter by typing into the search window.
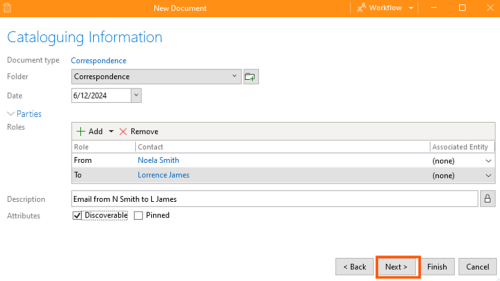
- The below window is effectively the opportunity to insert the custom details into the template: Folder: This is the folder in which the document will appear. If there is no folder by that name, one will be created. Parties: These are the contacts associated with the document (e.g. author and addressee of a letter). Where an associated entity is relevant, this can be selected. Description: This will become the name of the document in ContactsLaw. The description will often pre-build based on the above settings and will re-generate if the settings are changed. To stop this occuring, you can click the lock button to the right-side. Attributes: "Discoverable" is an attribute that allows you to sort by discoverable and non-discoverable documents in the system. "Pinned" allows you to display the document at the top of the window in a document list, notwithstanding the other sorting criteria (e.g. date).
- Review the information and details. Then click “Next.”
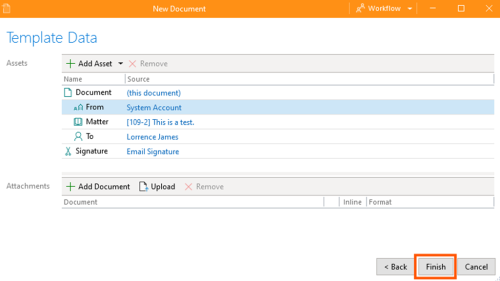
- The below window will then give you a summary of the assets upon which the template is drawing on for data to pre-fill the document. It is an opportunity for you to review and make any changes. You can also add "Attachments" in this section (for example, attachments to an email). Finally, click “Finish.”
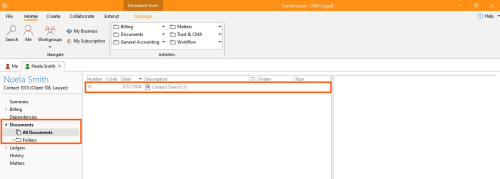
- You can find the document you created in the destination you selected during document creation.


