How-To:Appointment: Difference between revisions
No edit summary |
No edit summary |
||
| Line 1: | Line 1: | ||
{{DISPLAYTITLE:How to Schedule | {{DISPLAYTITLE:How to Schedule Appointments}} | ||
== 1. Getting Started == | == 1. Getting Started == | ||
Open the application, navigate to the ''Collaborate'' section, and select ''Appointment''. | Open the application, navigate to the ''Collaborate'' section, and select ''Appointment''. | ||
Revision as of 23:13, 2 December 2024
1. Getting Started
Open the application, navigate to the Collaborate section, and select Appointment.
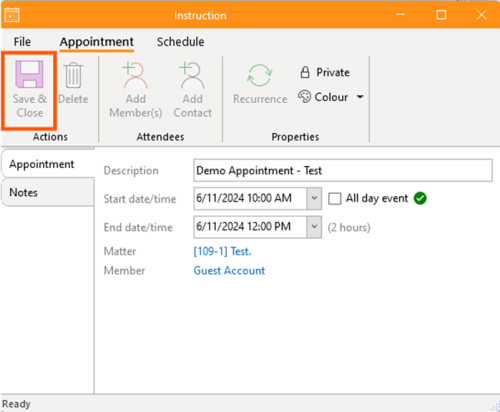
2. Input Details
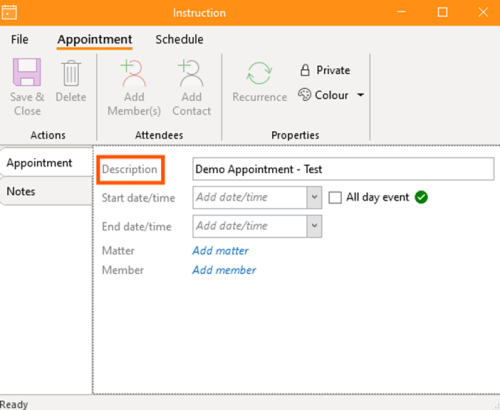
- Provide a description, outlining the tasks or work to be performed.
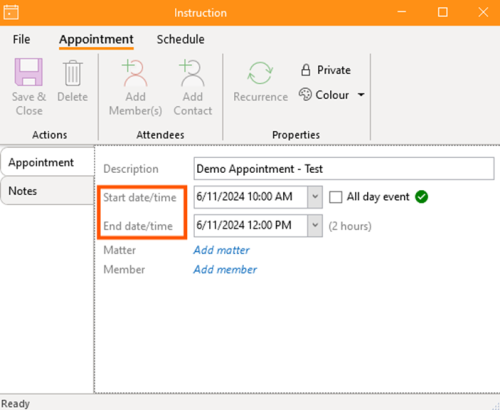
- Enter the start date and time, as well as the due date and time. Tick the checkbox if it is an All-day event.
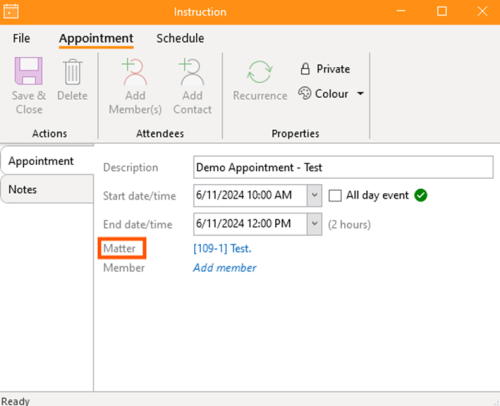
- Associate the appointment with a relevant matter.
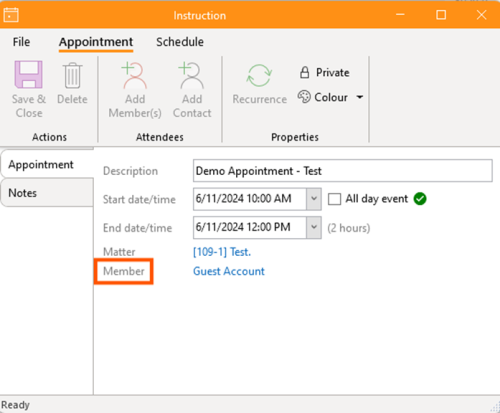
- Add a member or contact to the appointment.
Once all necessary information has been added, select "Save & Close" to finalise the appointment.


