How to Configure Timed Activities
In ContactsLaw, time recording can be set up to start automatically whenever you engage in certain activities. This guide will explain how to configure and change these activities to ensure time recording happens seamlessly.
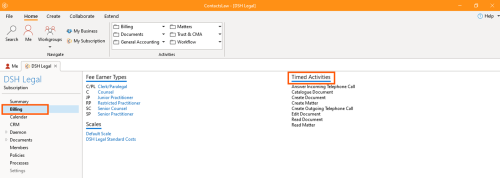
- Open the Desktop App and Go to “My Subscription”
- Navigate to the ContactsLaw application and select "My Subscription" from the main menu.
- Access the Billing Section
- Go to the “Billing” section and click on “Timed Activities”.
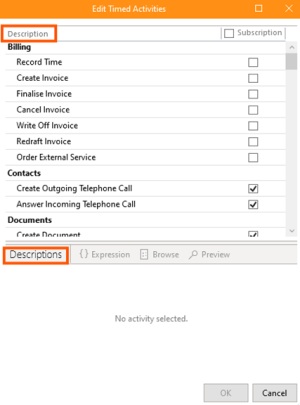
- Select Descriptions for Time Recording
- A list of descriptions will be displayed. Choose the ones that match the activities you want to track. Describe the time you want to record for each activity.Note: If you operate multiple businesses within the same subscription, you will have a different time recording policy for each business you operate well.
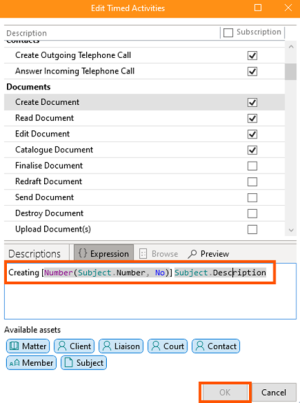
- Configure Details
- After selecting the descriptions, fill in the necessary details for each activity. Click OK to save the settings.


