How to Record General Receipts
This section of ContactsLaw provides an overview of the recording funds that have come into the bank account.
There are different ways on how to find out about the receipt of funds. This article focuses on the situation where you have received funds by bank deposit.
The below guide will explain the ways on how you can create a receipt into the system:
1. Getting Started
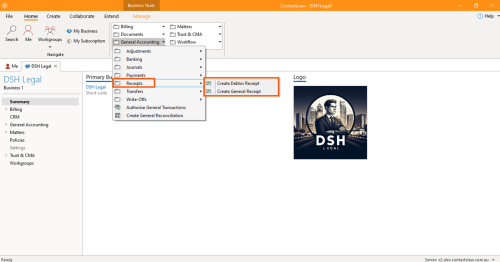
- Navigate to the ribbon group and dropdown on General Accounting.
- Proceed to Receipts and choose Create General Receipt.
2. Creating General Receipts
General receipts are for receiving funds not associated with a bill.
To create general receipt:
- Option 1: Click Create General Receipt.
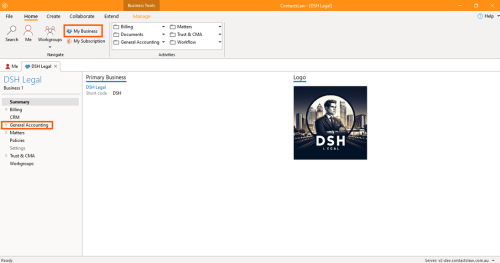
- Option 2: Navigate the ribbon group and click on My Business then proceed to General Accounting.
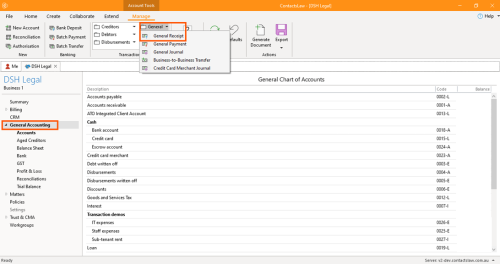
- Proceed to the Manage tab, then drop down General button and click General Receipt.
2.1. Specify Options
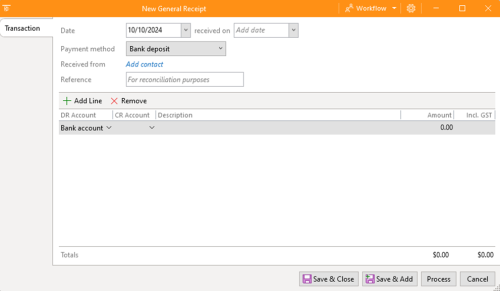
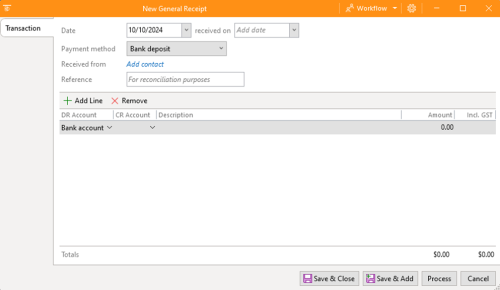
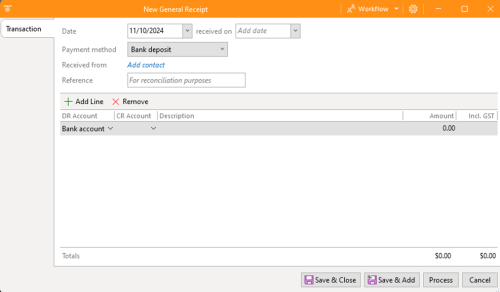
In the general receipt window, there are options that you need to complete.
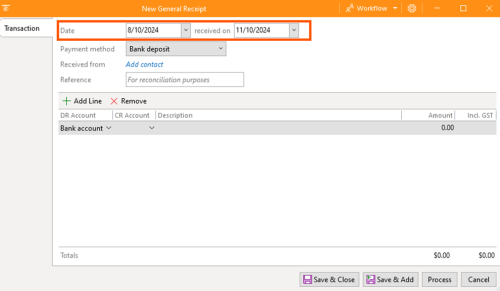
- Date: The date should be the date that are actually received (i.e appear in the bank statements).
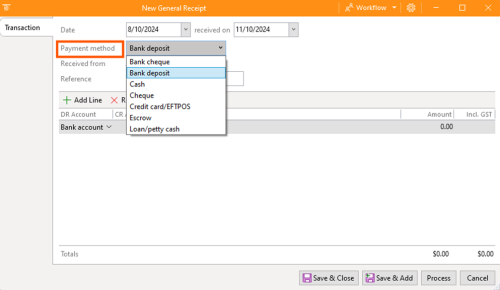
- Payment Method: This option is about how we received the funds. Options are bank deposit, bank cheque, cash, cheque, credit card, escrow, or loan/petty cash.
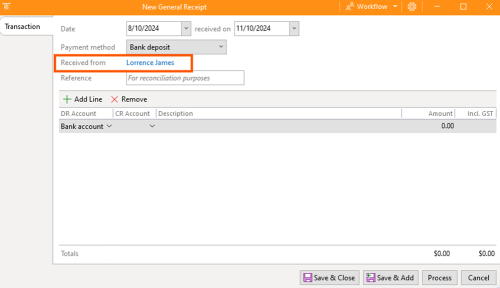
- Received from: This option is about who we get the funds from. Options are selecting a contact from the system.
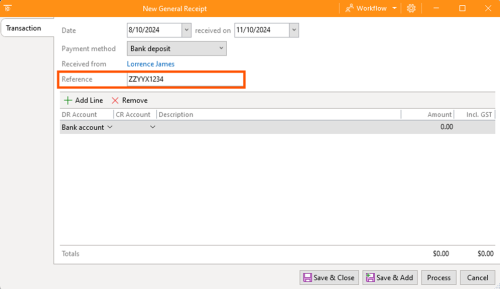
- Reference: The information for this option varies depending on the type of transaction such as invoice numbers, cheque reference number, or bank transaction reference.
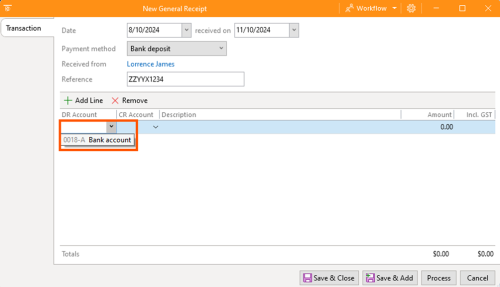
- DR Account: This is the account that will be debited upon receipt of the funds.
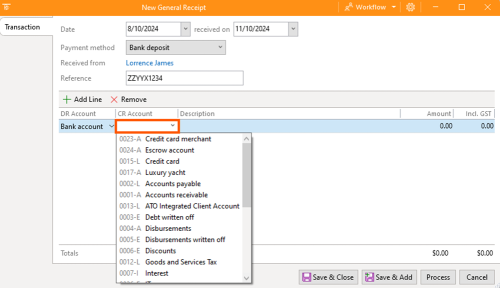
- CR Account: This is the account that is credited upon receipt.
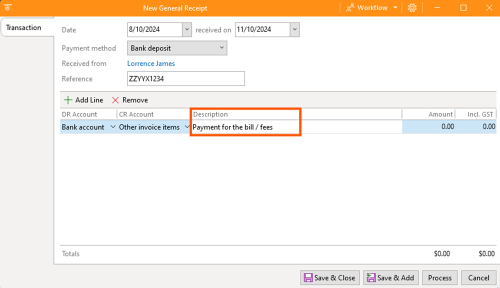
- Description: Enter a description for the funds received.
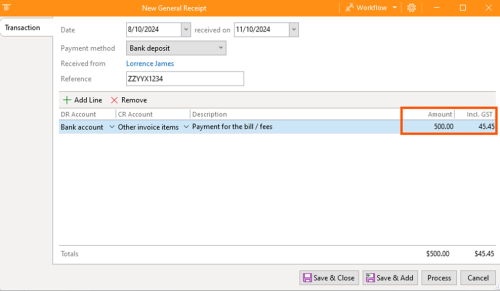
- Amount: Enter the exact amount received including GST.
- GST: This is a set of metrics or base items specific to Australia in the preparation of tax records for businesses which is 10% of the total amount.
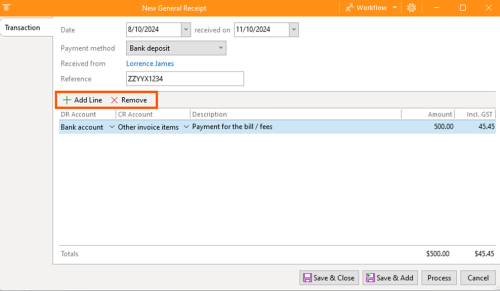
- Add and Remove Line: This is an option to add another item or remove an item.
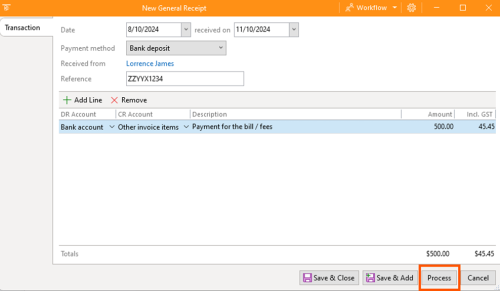
- Review the details and click Process.
2.2. Final Steps
There are a couple of ways to confirm that the general receipt you create has been successfully processed in the system.
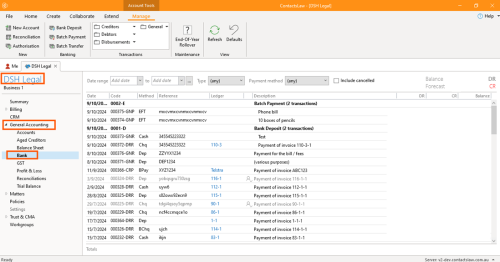
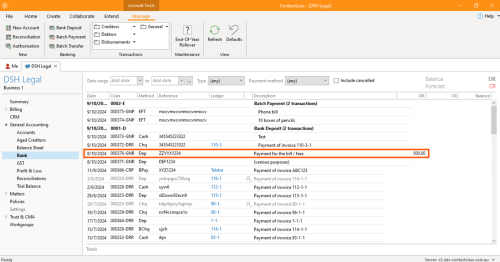
- Option 1: Navigate to DSH Legal, proceed to General Accounting and click Bank.
- Then proceed to search the general receipt by its reference number.
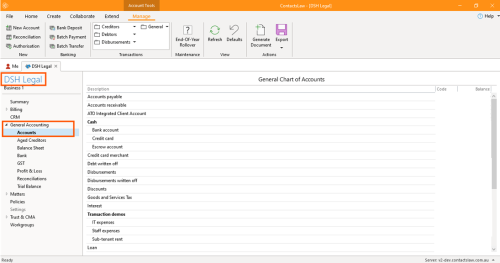
- Option 2: Navigate to DSH Legal, proceed to General Accounting and click Accounts.
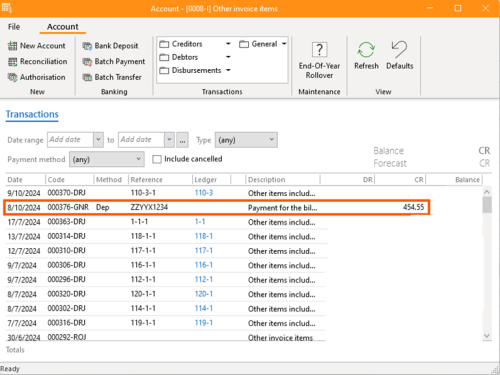
- Then proceed to the CR Account you indicated in the general receipt.
- Lastly, proceed to search the general receipt by its reference number or by its date.
3. Creating Debtor Receipts
Debtor receipts are specifically used for recording payments towards invoices that have been issued.
To create debtor receipt:
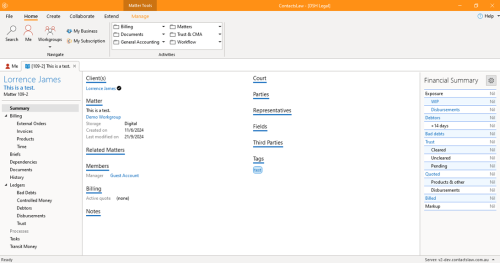
- Proceed to a matter. (see the Create Matter guide)
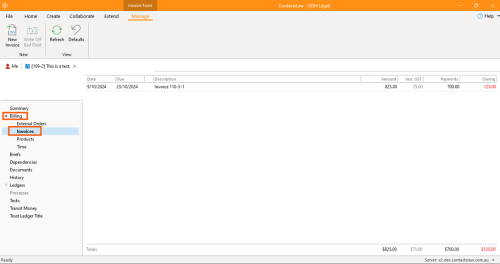
- Proceed to view the group, drop down the billing and click on invoices.
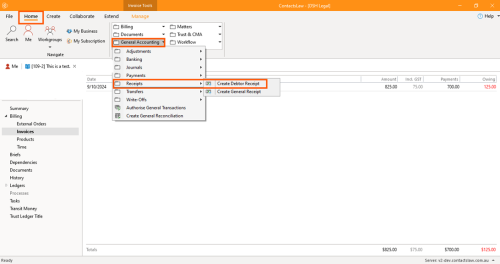
- Go back to the Home tab, navigate to the ribbon group and dropdown on General Accounting. Proceed to Receipts and click on Create Debtor Receipt.
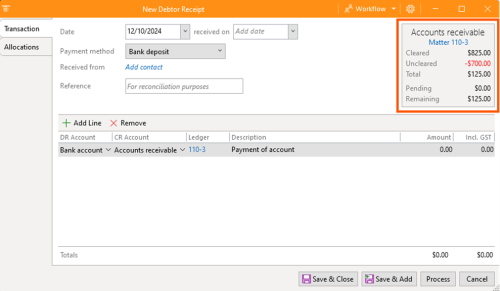
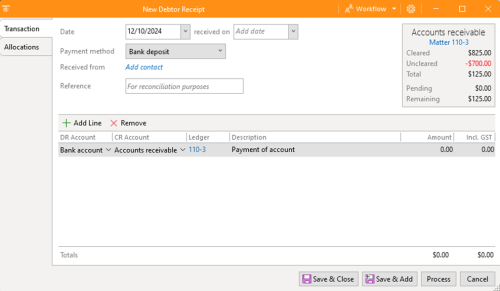
- As you can see, the editor window is identical to the general receipt except for the panel on the right side of the screen, which displays a summary of the Ledger balance for this matter.
3.1. Specify Options
In the debtor receipt window, there are two (2) editor tabs that you need to fill up:
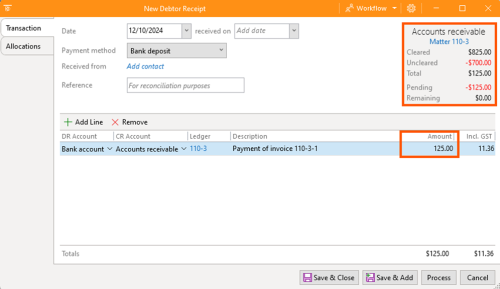
- Transactions: The information for this editor tab is similar to what you will fill up in the general receipt.
- When you input the amount received, the ledger will update to reflect the new balances.
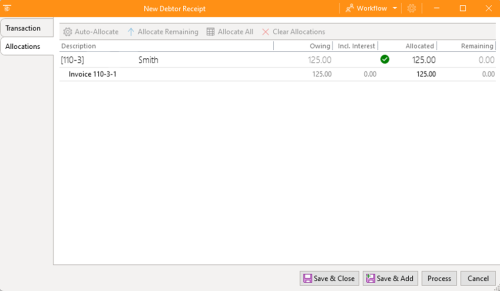
- Allocations: This tab displays the invoice/s, the funds received are to be allocated to.
- You can change the allocations if you desire.
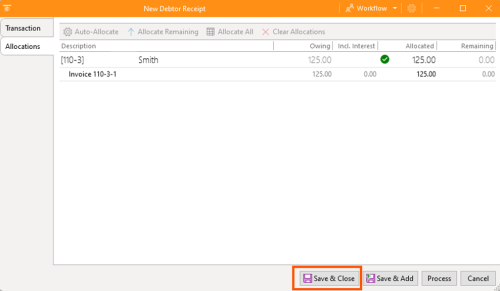
- Review the details and click Save & Close.
3.2. Final Steps
- There is a way to confirm that the debtor receipt you create has been successfully processed in the system.
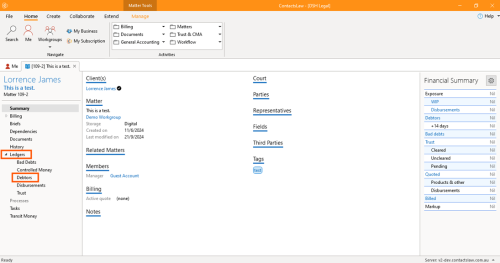
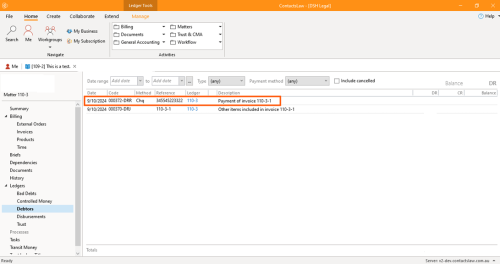
- Go back to the matter. Proceed to view the group, drop down the ledgers and click on debtors.
- Then it will display the debtor receipt created. However, because we only saved and closed the receipt earlier, it has not yet been processed, therefore it has no effect and does not change balance.


