How to Record Time
Manual time recording in ContactsLaw offers a precise method for tracking and logging time spent on various tasks, significantly improving billing accuracy and management. This feature enables users to monitor their work in real time, making the process of timekeeping and billing more efficient and transparent.
1. Getting Started
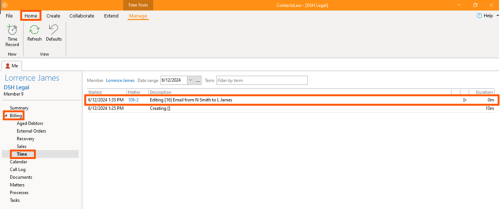
- Navigate to the ribbon group, proceed to Home and click on Billing.
- Dropdown and select "Record Time".
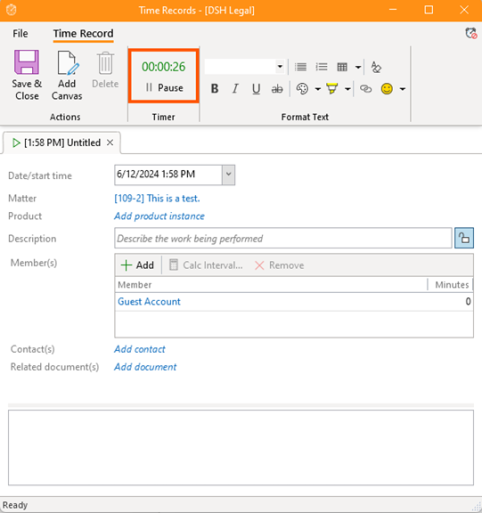
- Once the time recording window opens, the recording will start automatically. You can pause it as necessary.
2. Input Details
The below guide will explain the key steps in in the contacts law subscription:
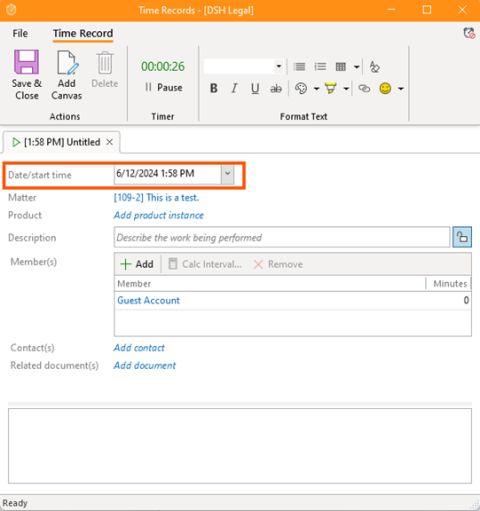
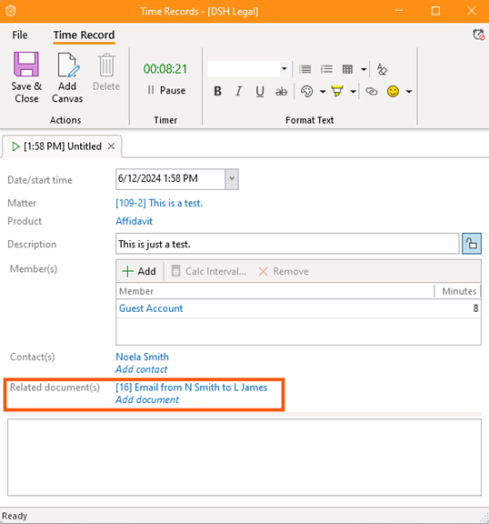
- Set Date and Start Time: Specify the date and starting time for the recorded entry
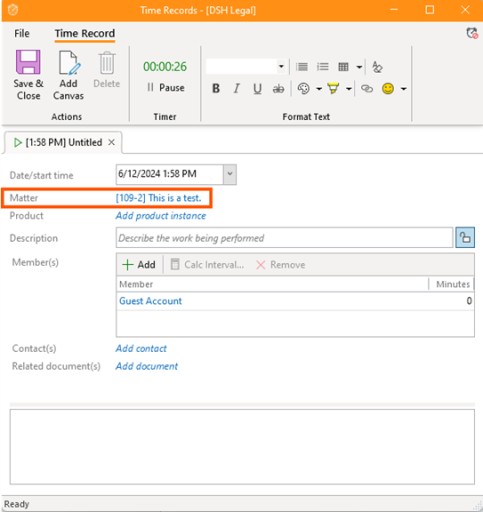
- Select the Matter: Identify the matter associated with this time entry.
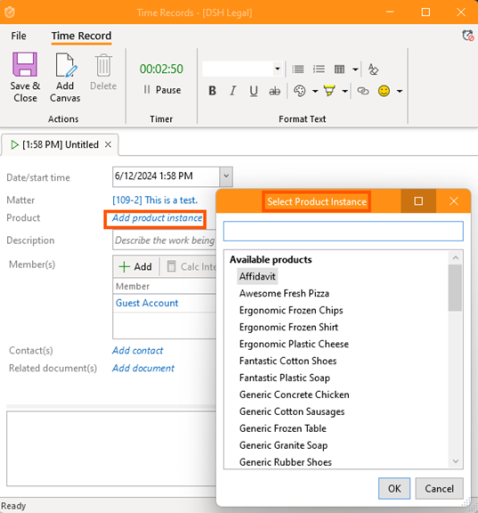
- Add a Product Instance: Link a product instance related to the matter.
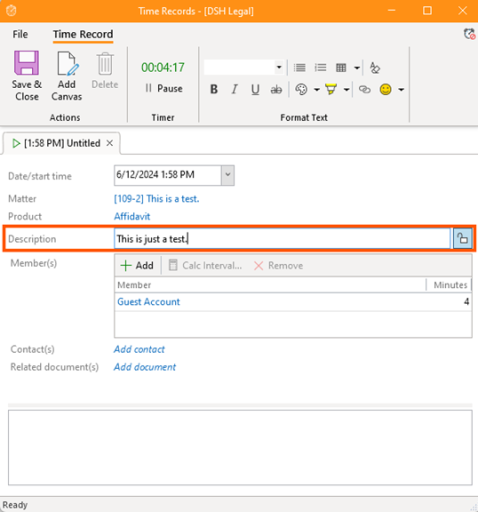
- Include a Description: Provide a detailed description of the work performed during the recorded time.
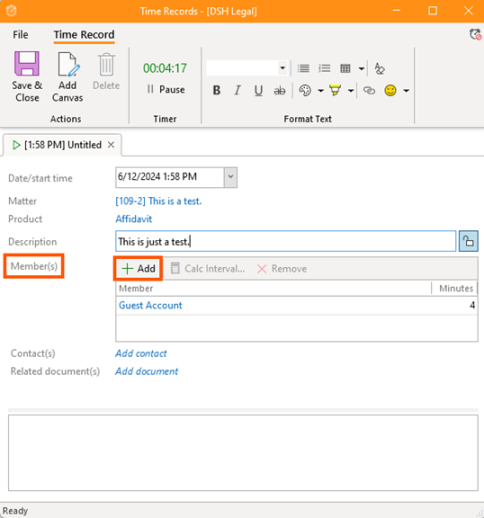
- Add Members: List any team members who contributed to the task.
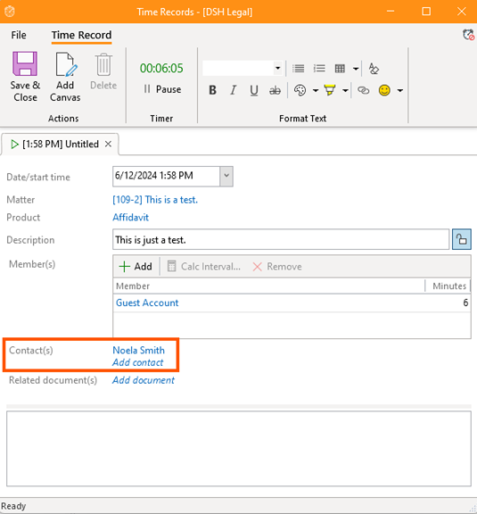
- Include Relevant Contacts: Optionally, add any relevant contacts tied to the time entry.
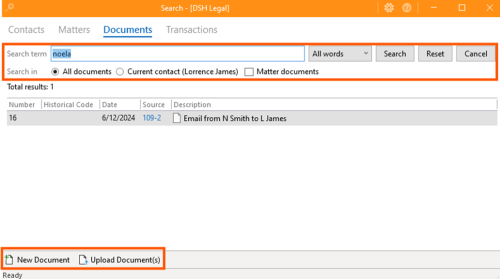
- Attach Documents: Upload any supporting files or documents related to the task.
3. Final Steps
The below guide will explain the final steps in creating the to-do in the system.
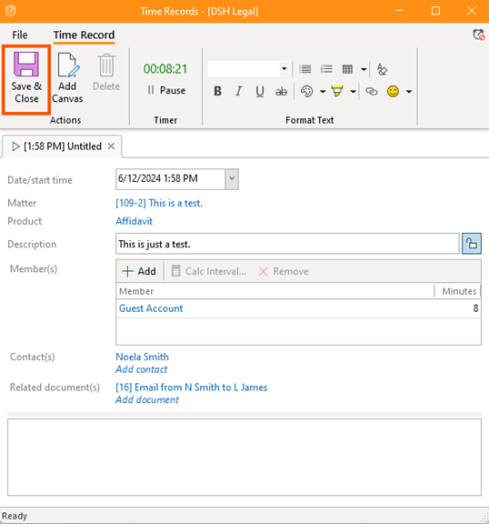
- Review the details of the time record you created.
- Click Save and Close to finalise the time entry.
- The recorded time will be accessible under the 'Billing' section, specifically in the 'Time' category.


