How to Record Creditor Payments
This section of ContactsLaw provides a procedure of recording creditor payments through cash, cheque, or digital payments.This structure ensures that financial records and transactions are organised clearly and efficiently for each business you operate.
Before we go through in this article, you must check first the article about How-To: Create Creditor Invoice Journal, as this guide will serve as the continuation of the aforementioned article.
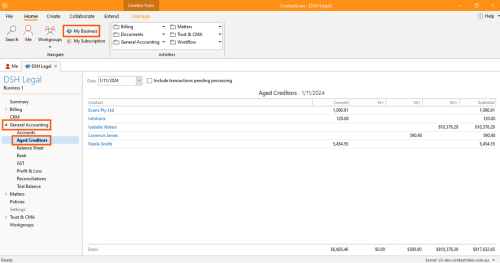
- After clicking the Process on the How-To: Create Creditor Invoice Journal, go back to General Accounting and click on Aged Creditors.
- Then, it will show the current Aged Creditor Ledger. This will also verify if your created creditor invoice journal is successfully processed in the system or not.
1. Creditor Payment
Creditor payments are one of the payments that are available in the ContactsLaw. Procedures on payments are quite similar to General Payments (see article about How-To: Request Payment)
To create creditor payment:
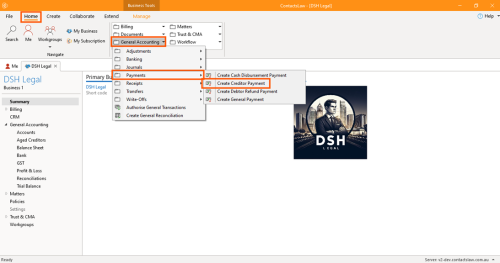
- Option 1: Navigate to the ribbon group and dropdown on General Accounting. Then, proceed to Payments and click on Create Creditor Payment.
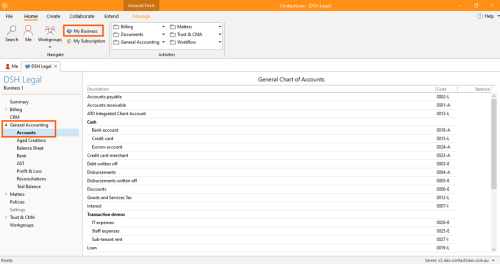
- Option 2: Navigate the ribbon group, click on My Business then proceed to General Accounting and choose Accounts.
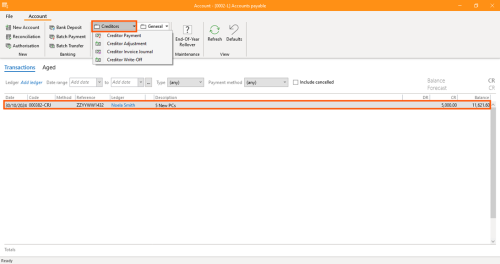
- Go to Accounts Payable. Navigate to the editor group, dropdown the creditors and click on Creditor Payment.
2. Specify Options
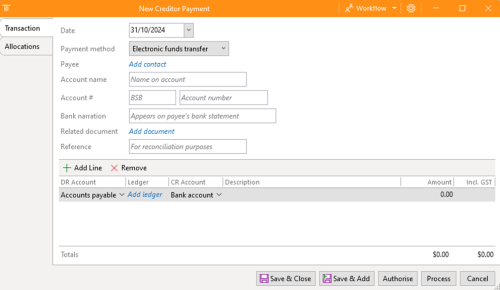
In the creditor payment window, there are options that you need to fill up.
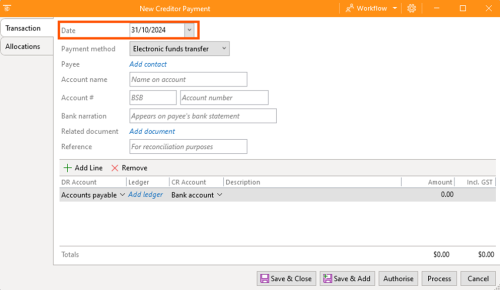
- Date: Setting the date when you request the payment. Date can be past, present, or future. There are in some cases there will be backdated transactions or forwarded transactions that actually request the fund.
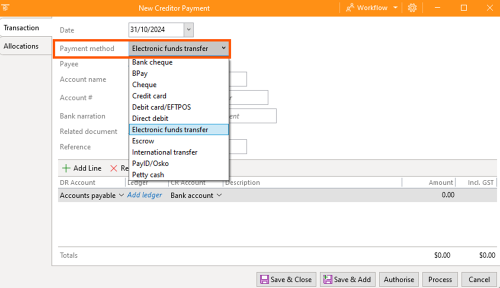
- Payment Method: This selection of payment methods is going to be different to what we saw in creating receipts or recording bank deposits because by definition there are various ways to payout than to receive. Options can be Bank cheque, BPay, Cheque, Credit Card, Debit Card, Electronic funds transfer, Escrow, International transfer, loan/petty cash, or Pay ID/Osko.
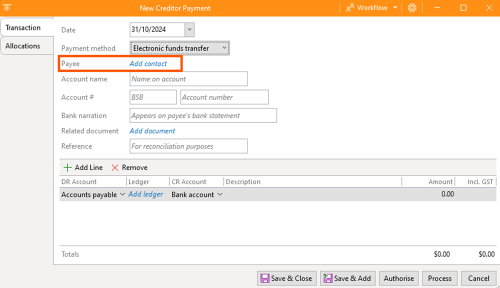
- Payee: This option will determine who the money is going to specifically contact.
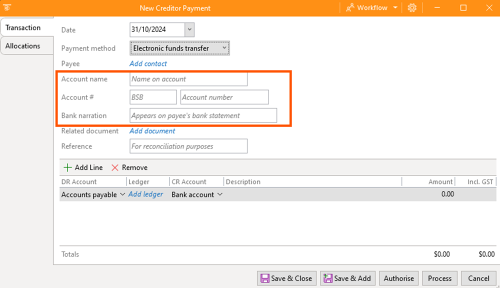
- Account name: This option depends on the payment method you selected; some require an account name, while others may not.
- Account number: This requires the bank state branch number or BSB (depending on the bank) and bank account number.
- Bank narration: This is a way of describing or narrating what the transaction's going to be about, and this is going to show up on the payee’s bank statement. This option should be specific since this will reflect in the system.
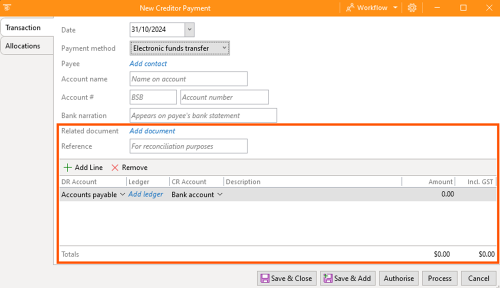
- Remaining Options: The details that you will be needed are the same information you fill up in the Creditor Invoice Journal.
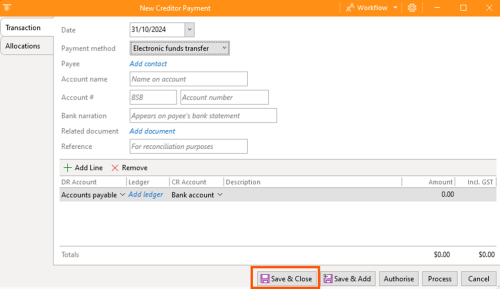
- Review the details and click Save & Close.


